When I was starting out, I didn’t know where to start, and was overwhelmed. Here are some practical steps that you can take. I recommend that you make a 3D model on your computer as soon as possible. The “wow” factor will give you a huge boost. And it will de-mystify things. You’ll say “Hey, that was actually quite easy!”
By the way, I use the term “3D Mapping” a lot, because it gives people an idea of what we are doing with drones. But the image-processing technology is called “Photogrammetry”, and it includes more than drone mapping. You can use an ordinary camera to make 3D models of anything from insects to your dog to your lounge room!
1. Get a drone – or even just a camera
Have a drone?
Great, you’re covered.
Don’t have a drone?
Well, the amazing thing is that you can can actually make a 3D model just by walking around with an ordinary camera – even the camera on your phone. No drone involved! In fact, there’s a lot of stuff you can do just holding a camera – even commercial jobs like 3D models of crime scenes or archeological digs.
The models you create will be small, like furniture or the side of your house. You won’t be capturing big stuff like hills and valleys. For that you’ll need a drone to get the aerial perspective. But the processing techniques are the same. So you can get really good at photogrammetry without touching a drone!
What drone for SERIOUS work?
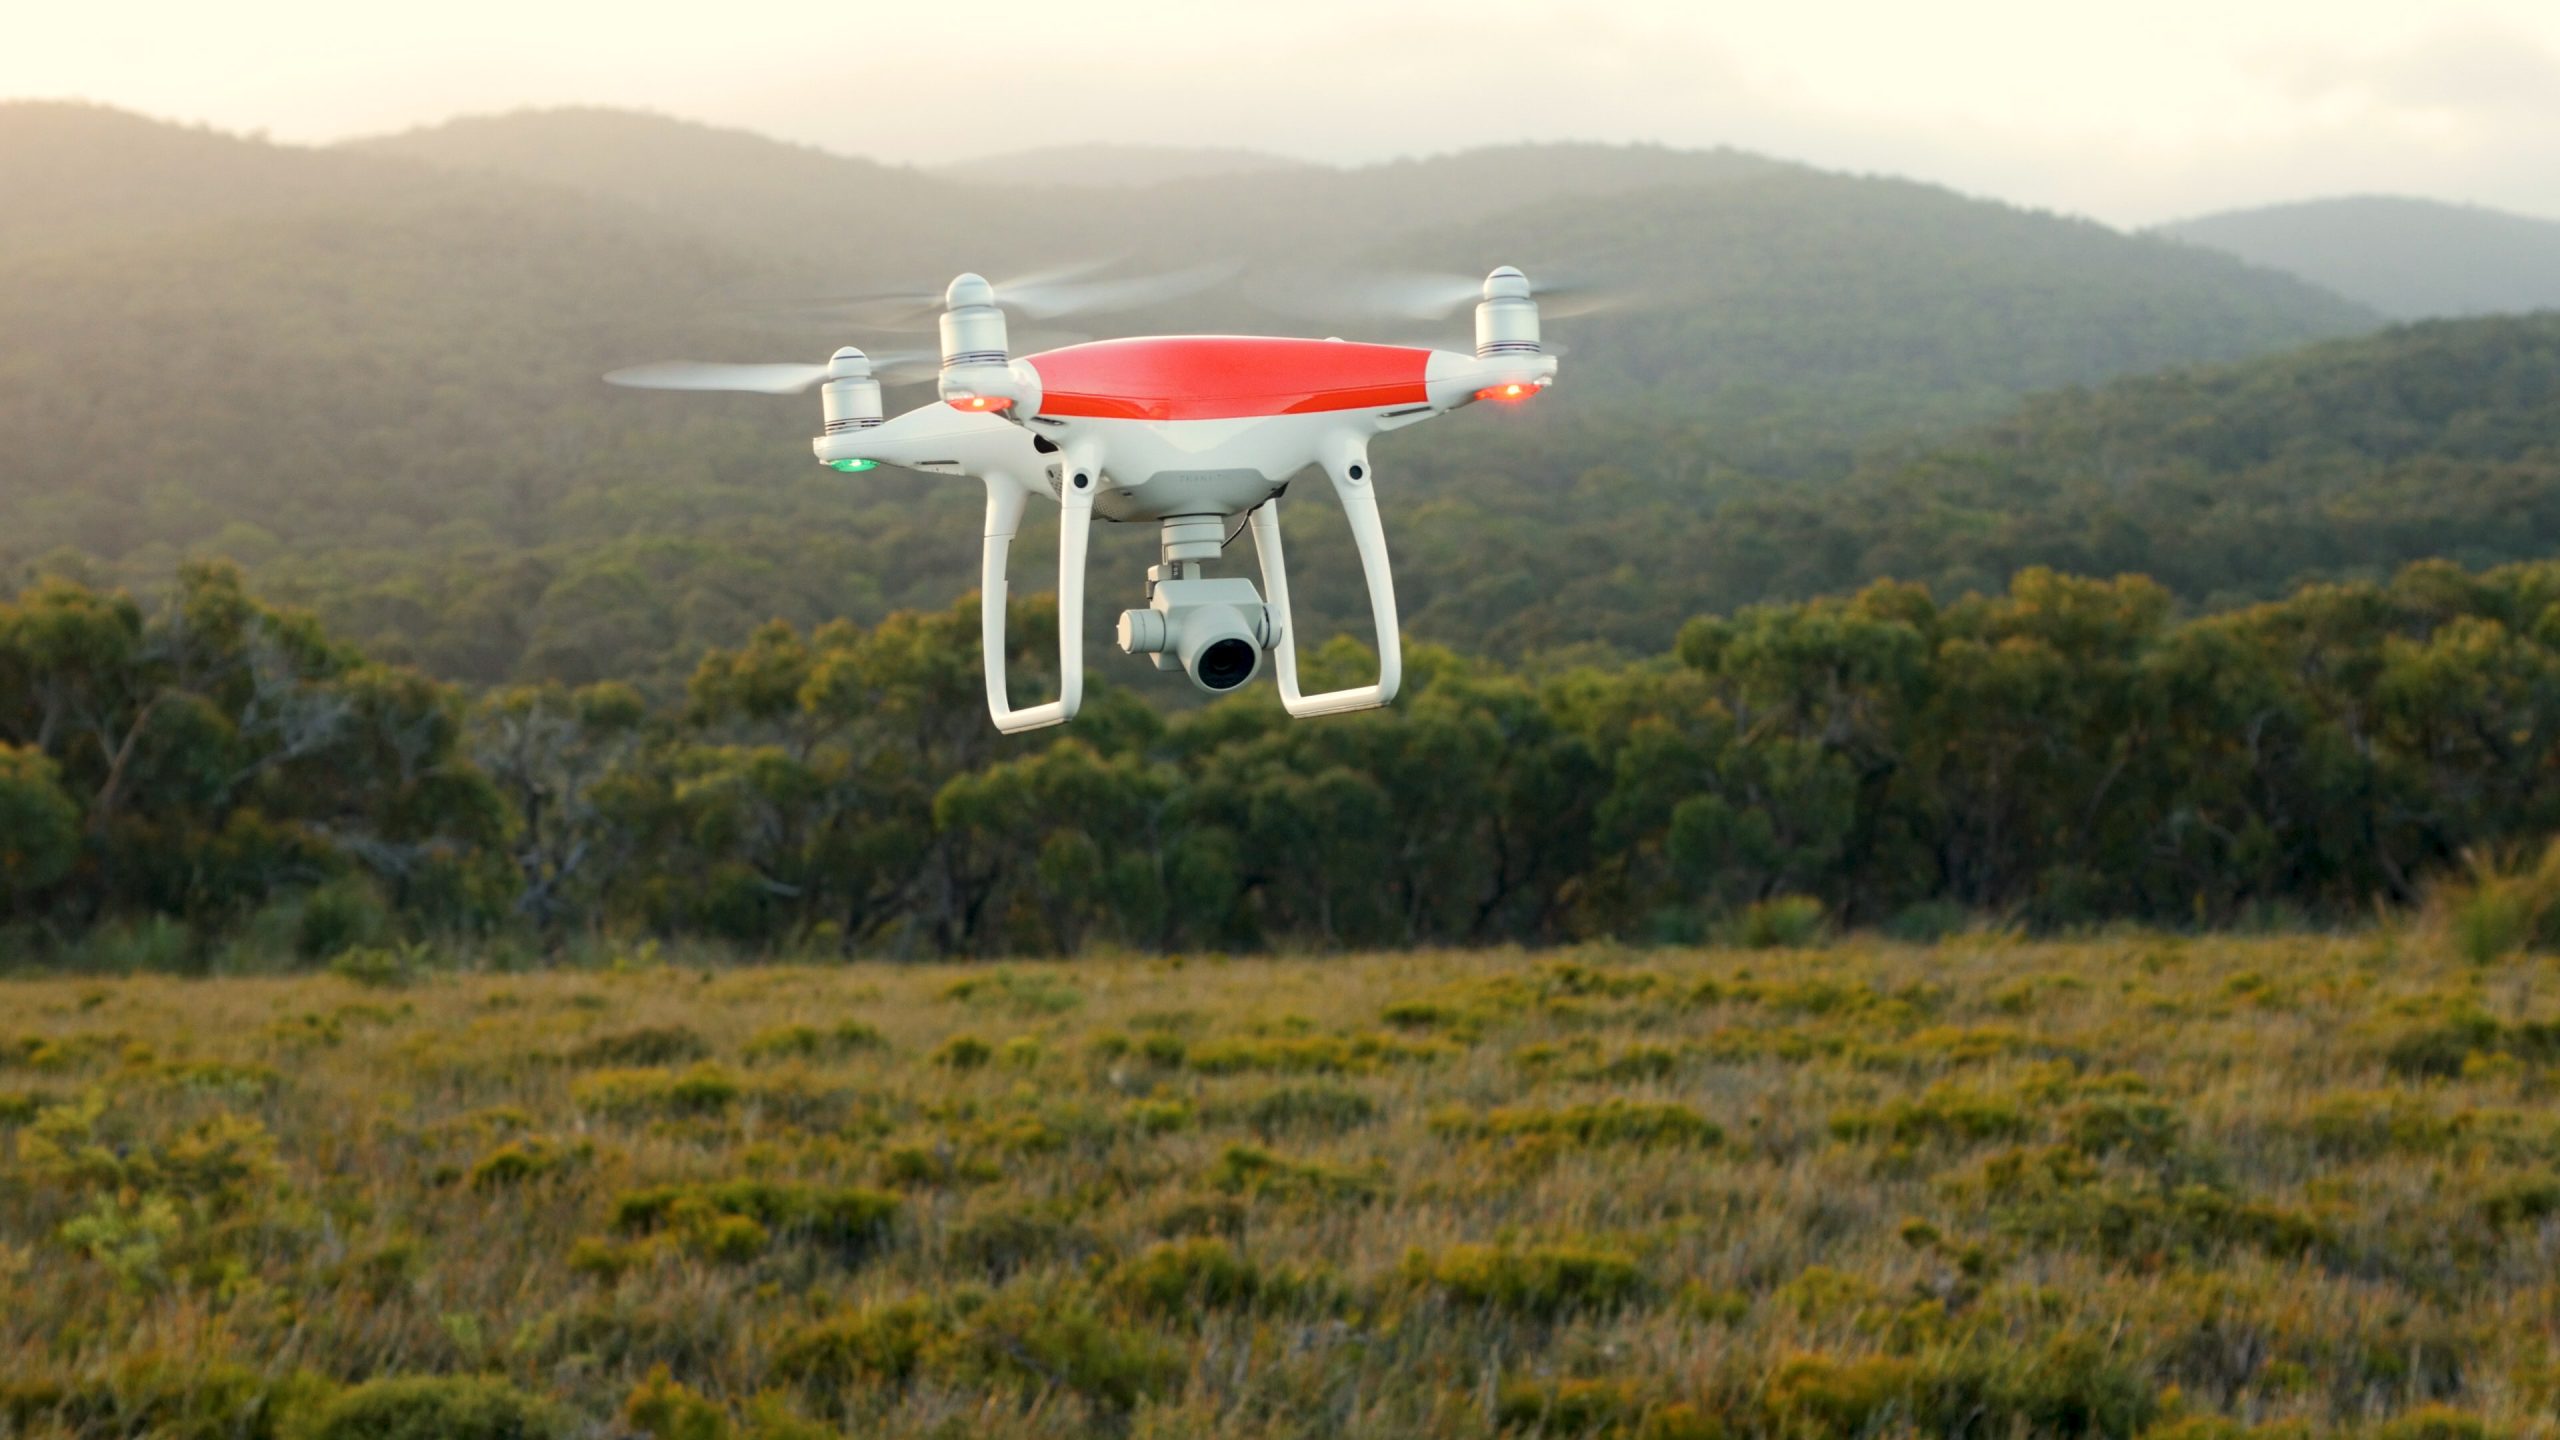
If you’re thinking about 3D Mapping commercially, and you need accuracy, a key requirement is that the camera on the drone has a mechanical shutter in order to expose the entire frame instantaneously. Otherwise, the camera will scan from top to bottom. The problem is, the drone is moving. It’s a bit like using a flatbed scanner while dragging the paper you’re scanning. The image will be slightly stretched or compressed, and this affects accuracy. I use the Phantom 4 Pro a lot because it has a mechanical shutter, is relatively cheap, and has good image quality. For longer flight times you can think about drones like the eBee, but they are far more expensive and you’d need to have a good business case for that level of investment.
2. Get a computer with POWER
PC or Mac, you ask? Well, much as I like Macs, there is no competition here. You will have far more software options with a PC. The power you need will depend on the size of the models you create, but the biggest requirement is memory. If you are testing the waters and using small numbers of photos (like 20 for example), you can get by with less than I’m about to describe. But to get serious with photogrammetry, you should be thinking of at least 32GB of RAM. For the CPU, modern processors are all fine, but you can certainly benefit from paying more for faster ones. Additional processing speed will come from using a high end Nvidia gaming card, and a solid state drive.
3. Get photogrammetry software
This is where the magic happens. This is the software that takes your photos and generates a 3D model and lets you export a variety of 3D and 2D products. There are many good products. The ones I’m most familiar with are:
The links above will take you to their front page. Both let you run a time-limited full version, or a version that runs forever with limited ability to save. Choose the one you like the most. My personal preference is Pix4D. Navigate to the download section, then download and run the installer. (I do not get any rewards for recommending them.)
4. Take photos!
Using hand-held camera or phone:
Try photographing a feature like a rock wall in the garden. Avoid shiny things like cars. Take a photo, move and take another. It will only work if you overlap the photos, so the software will be able to see the same object from different angles. If you like, you can rotate to keep pointing at the same object for all your photos. If the object is bigger than the camera’s field of view, you can scan along sideways along until you capture it all. But only move sideways a small amount each time, say 20% of the frame width. If it’s your first time, you might want to aim for 20 to 50 photos so it’s nice and quick when you start experimenting with processing.
Using your drone:
The process of setting up your drone for photogrammetry is a massive topic, beyond the scope of this bare-bones “getting started” guide. Typically we use software like DJI GS Pro running on an iPad that’s plugged into the controller. We set up the area to be mapped, and it generates the flight lines, and the drone will fly automatically. However, you can also take the photos manually, just like a hand-held camera. In fact, I’ve done high-res 3D models of cliffs where I needed to do fly very close to the cliff and photograph manually.
5. Let the 3D magic begin
You now have a bunch of photos. Locked inside them is enough information for a super-intelligent system to decode a 3D world. Wow! Get the photos into your computer, open the software that you got in Step 3 above, and import the photos. I’ll keep things quick here, and let you play around with the software yourself. These days they make it pretty easy to use. I’m confident that you will soon be staring in amazement at a 3D model that you can spin around with your mouse. And if you’re like me, this will be the moment that you’re hooked!
Happy 3D modelling!
Richard

