I’m guessing you’ve seen 3D maps, but if you haven’t, do this on your phone: Go to Google Earth, or if you have an iPhone go to Maps and choose “Satellite” and “3D”. Scroll to a major city and zoom in. Tilt the view by sliding two fingers up. Wow!
My 2012 “wow” moment
In 2012, Apple released their new Maps app for the iPhone. I’d never seen anything like it. Everything was in 3D. But there was something else: It was photorealistic. It was like someone had invented a holographic camera that could capture reality and create a little 3D world that you could look at from any angle.
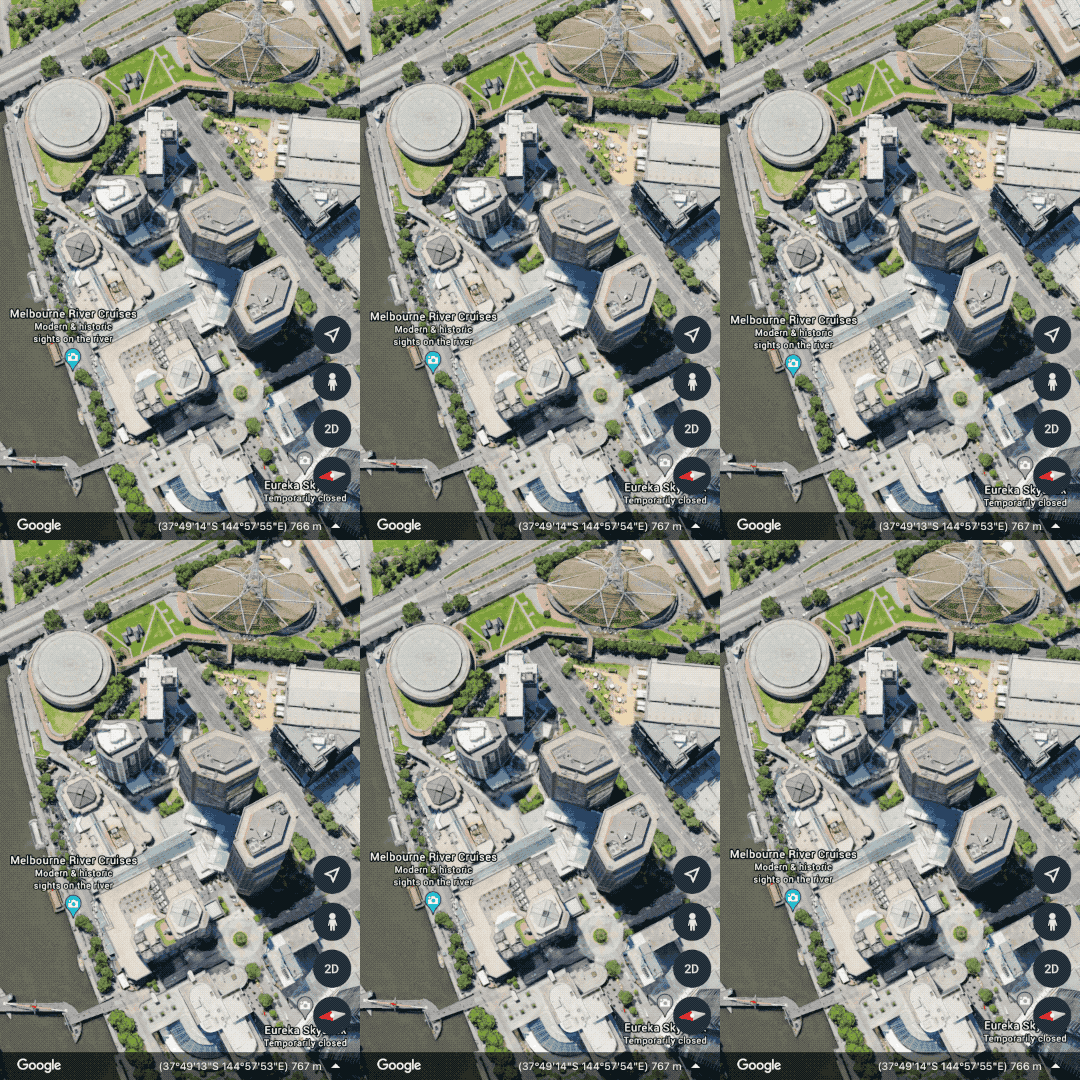
It had obviously been recorded somehow, instead of just being the creation of a 3D artist. I knew that there was something powerful and new going on. It was like science fiction, and I wanted a piece of the action!
Clearly, they were using photos taken from the air to get that perspective. So it was like aerial photography – except it was 3D… Wow! So I decided to make it my life mission – for the next week at least – to find out what’s going on. And I discovered that it has a name.
Photogrammetry
It turns out that photogrammetry has been around for over a century. Generally, it means using photos to work out distances between objects using geometry, often done with a ruler. But once computers started to get powerful, it became possible to do amazing things: First, take photos from different positions in the sky, and import them into software that traces the light path from each camera position to a feature on the ground. Through triangulation, it createa a point in 3D space.
But why stop at one point? Now that the average home computer has God-like power, it can look for thousands of features in photos, and create thousands of 3D points! So now you have a cloud of 3D points, and together they make something that looks like hologram. Wow!
To be fair, the imagery you see in Google Earth and Apple Maps is the result of more processing involving a texture wrapped over a model. But it all starts with detecting those points.
The next step
So back to my story. After I had half-exploded my brain trying to understand this stuff, I started searching for tools. Am I talking about drones? You bet! Clearly I needed something to take a bunch of aerial photos that could be processed into 3D. I’d been doing aerial photography for years with an RC helicopter, but it looked like I needed something a lot more sophisticated, because it was clear that the photos would needed to be taken in a very specific – and probably automatic – way. And right then, in 2012, something arrived that could do just that.
The Swinglet CAM
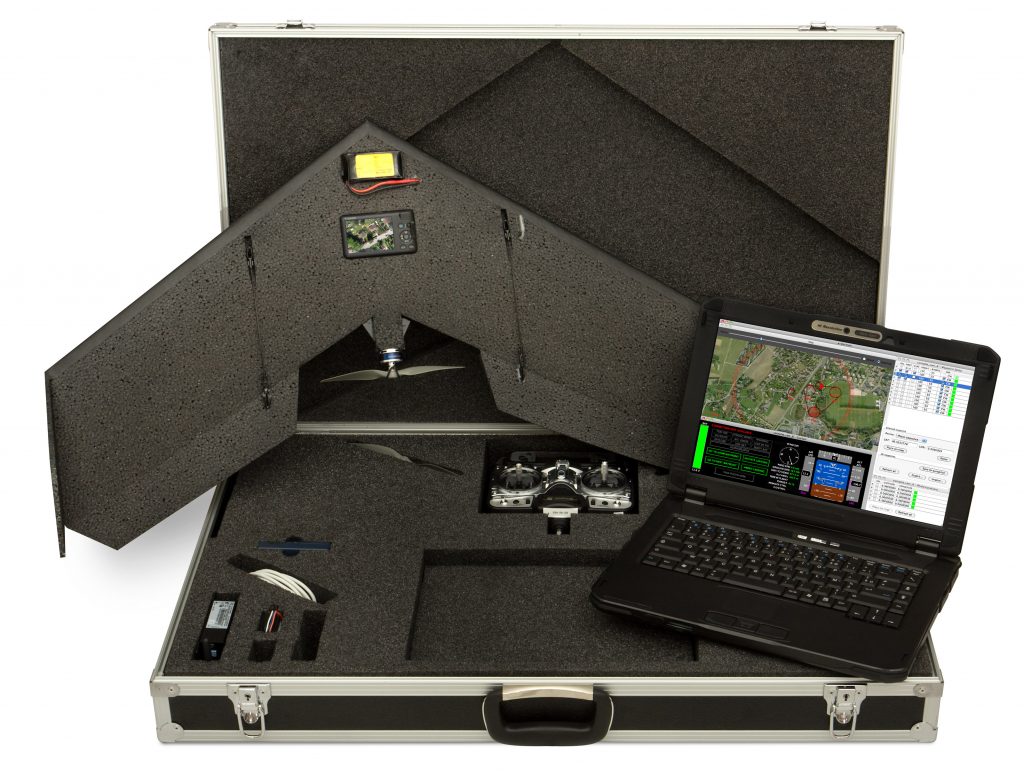
YouTube videos started appearing up showing a magic little plane that flew automatically and took photos. You didn’t even use a remote control: Just shake it to start, and then throw it. Fully autonomous, with GPS guidance. That was so new and radical – we hadn’t seen this before in the consumer world. The GPS was needed so it can fly in straight lines. But why?
Grid patterns
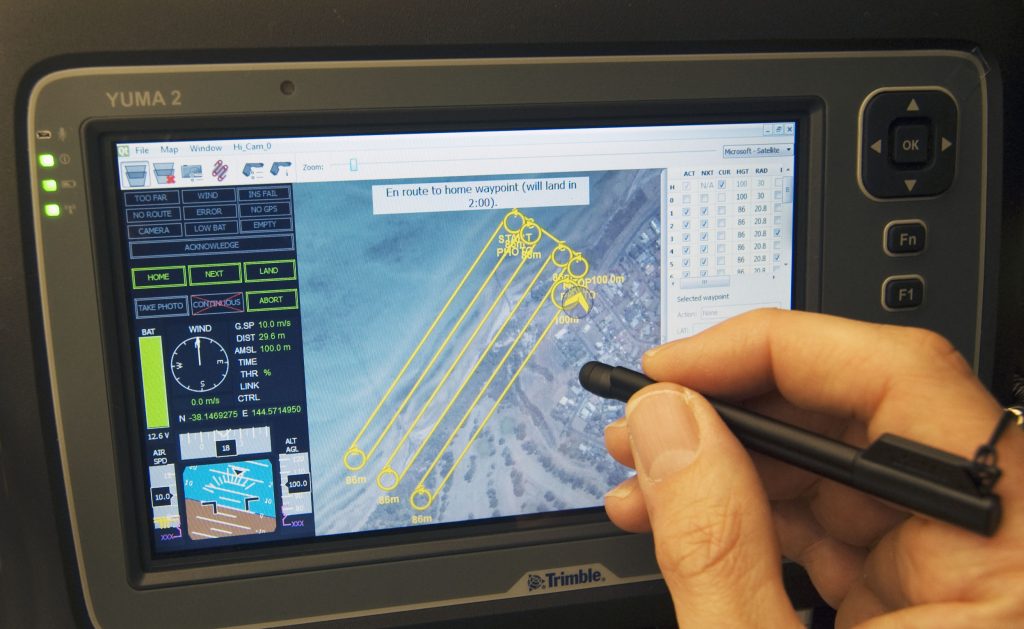
Those straight lines are needed because it’s flying in a grid pattern, taking photos the whole time. It’s doing this much more accurately than if you were manually steering it. And that’s why it needs the GPS. It takes hundreds of photos, and those photos are overlapped, so any object on the ground is seen in lots of different photos, allowing processing software to do the magic that I spoke about earlier.
I bought one!
Don’t laugh. I paid about $16,000 for a Swinglet CAM. You might think it’s pretty funny when now you can buy a DJI drone for a fraction of that price, and get better performance, software and image quality. But the Swinglet CAM is what got the world excited about 3D mapping from drones.
RTK GPS
In my research, I’d learned that there’s a trick to making 3D models accurate. You place a bunch of markers on the ground and measure their 3D position with a super-accurate GPS known as RTK. The drone flies the mission, taking photos in which the markers are visible. Later, during processing, you point to the markers and tell the software the coordinates that you measured. You’re basically telling the software:
“Hey, this point is actually HERE! And this point is actually HERE!”
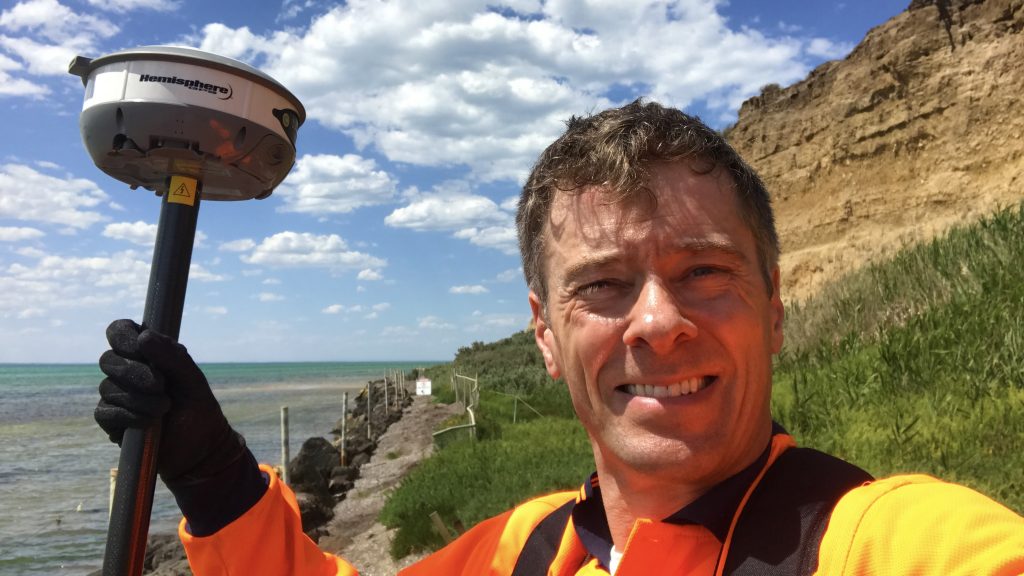
Then BAM! – The software adjusts the model to fit, and now your model is accurate. In other words, you can move the cursor over some part of the model you’re interested in – a rock for example – and read the coordinates which will be accurate to a few centimetres. That’s amazing considering your model can be kilometres (or miles) across! Because of this accuracy, your model can do powerful things like showing the volumes of stockpiles in mining, or changes in sand heights on beaches. So that’s why I bought this weird-looking thing on a pole.
Baking a cake
I have to mention this. I find it hugely satisfying to create 3D models. You feed a bunch of photos to your supercomputer – let’s face it, that’s what our computers are these days – and go away for a few hours (or sometimes days) while it works its magic. It’s like baking a cake. You know that something of value is being made.
Anyway, I was making 3D models, and learning to clean them up and tweak the settings when necessary. Conversations with mathematicians and photogrammetry experts helped me wrap my head around the more challenging concepts. I was generating outputs which included Point Clouds, Digital Surface Models and Orthophotos – the fancy name for image maps, like Google Earth except much higher resolution.
How to make money?
Now that I’d proven to myself that I could actually make 3D models, it was time to get serious about the business side of things. I had many questions including:
- How can I make money from it?
- Who wants to buy it?
- What file formats do you use?
Many of these questions were answered when I teamed up with a Geotechnical engineer, which was great because he already had the clients, and he was interested in this new technology. We decided on file formats that worked well so he could use my data, and file formats that clients could use.
We did a lot of beach monitoring. I produced Digital Surface Models which were used to make graphical reports to show councils what the sand was doing. By repeating the flights every 6 months, it was possible to make maps showing changes in sand volumes, and diagrams of the cross-section profile of the beach, changing over time. Using Point Clouds, we could detect dangerous changes in cliffs due to erosion. Being able to provide high resolution Orthophotos was icing on the cake, and clients loved it!
Switching to VTOL
I’m a fanatic when it comes to Vertical Take-Off and Landing (VTOL). Not just because it’s really cool, but because there are times when you really can use the ability to land on a dime.
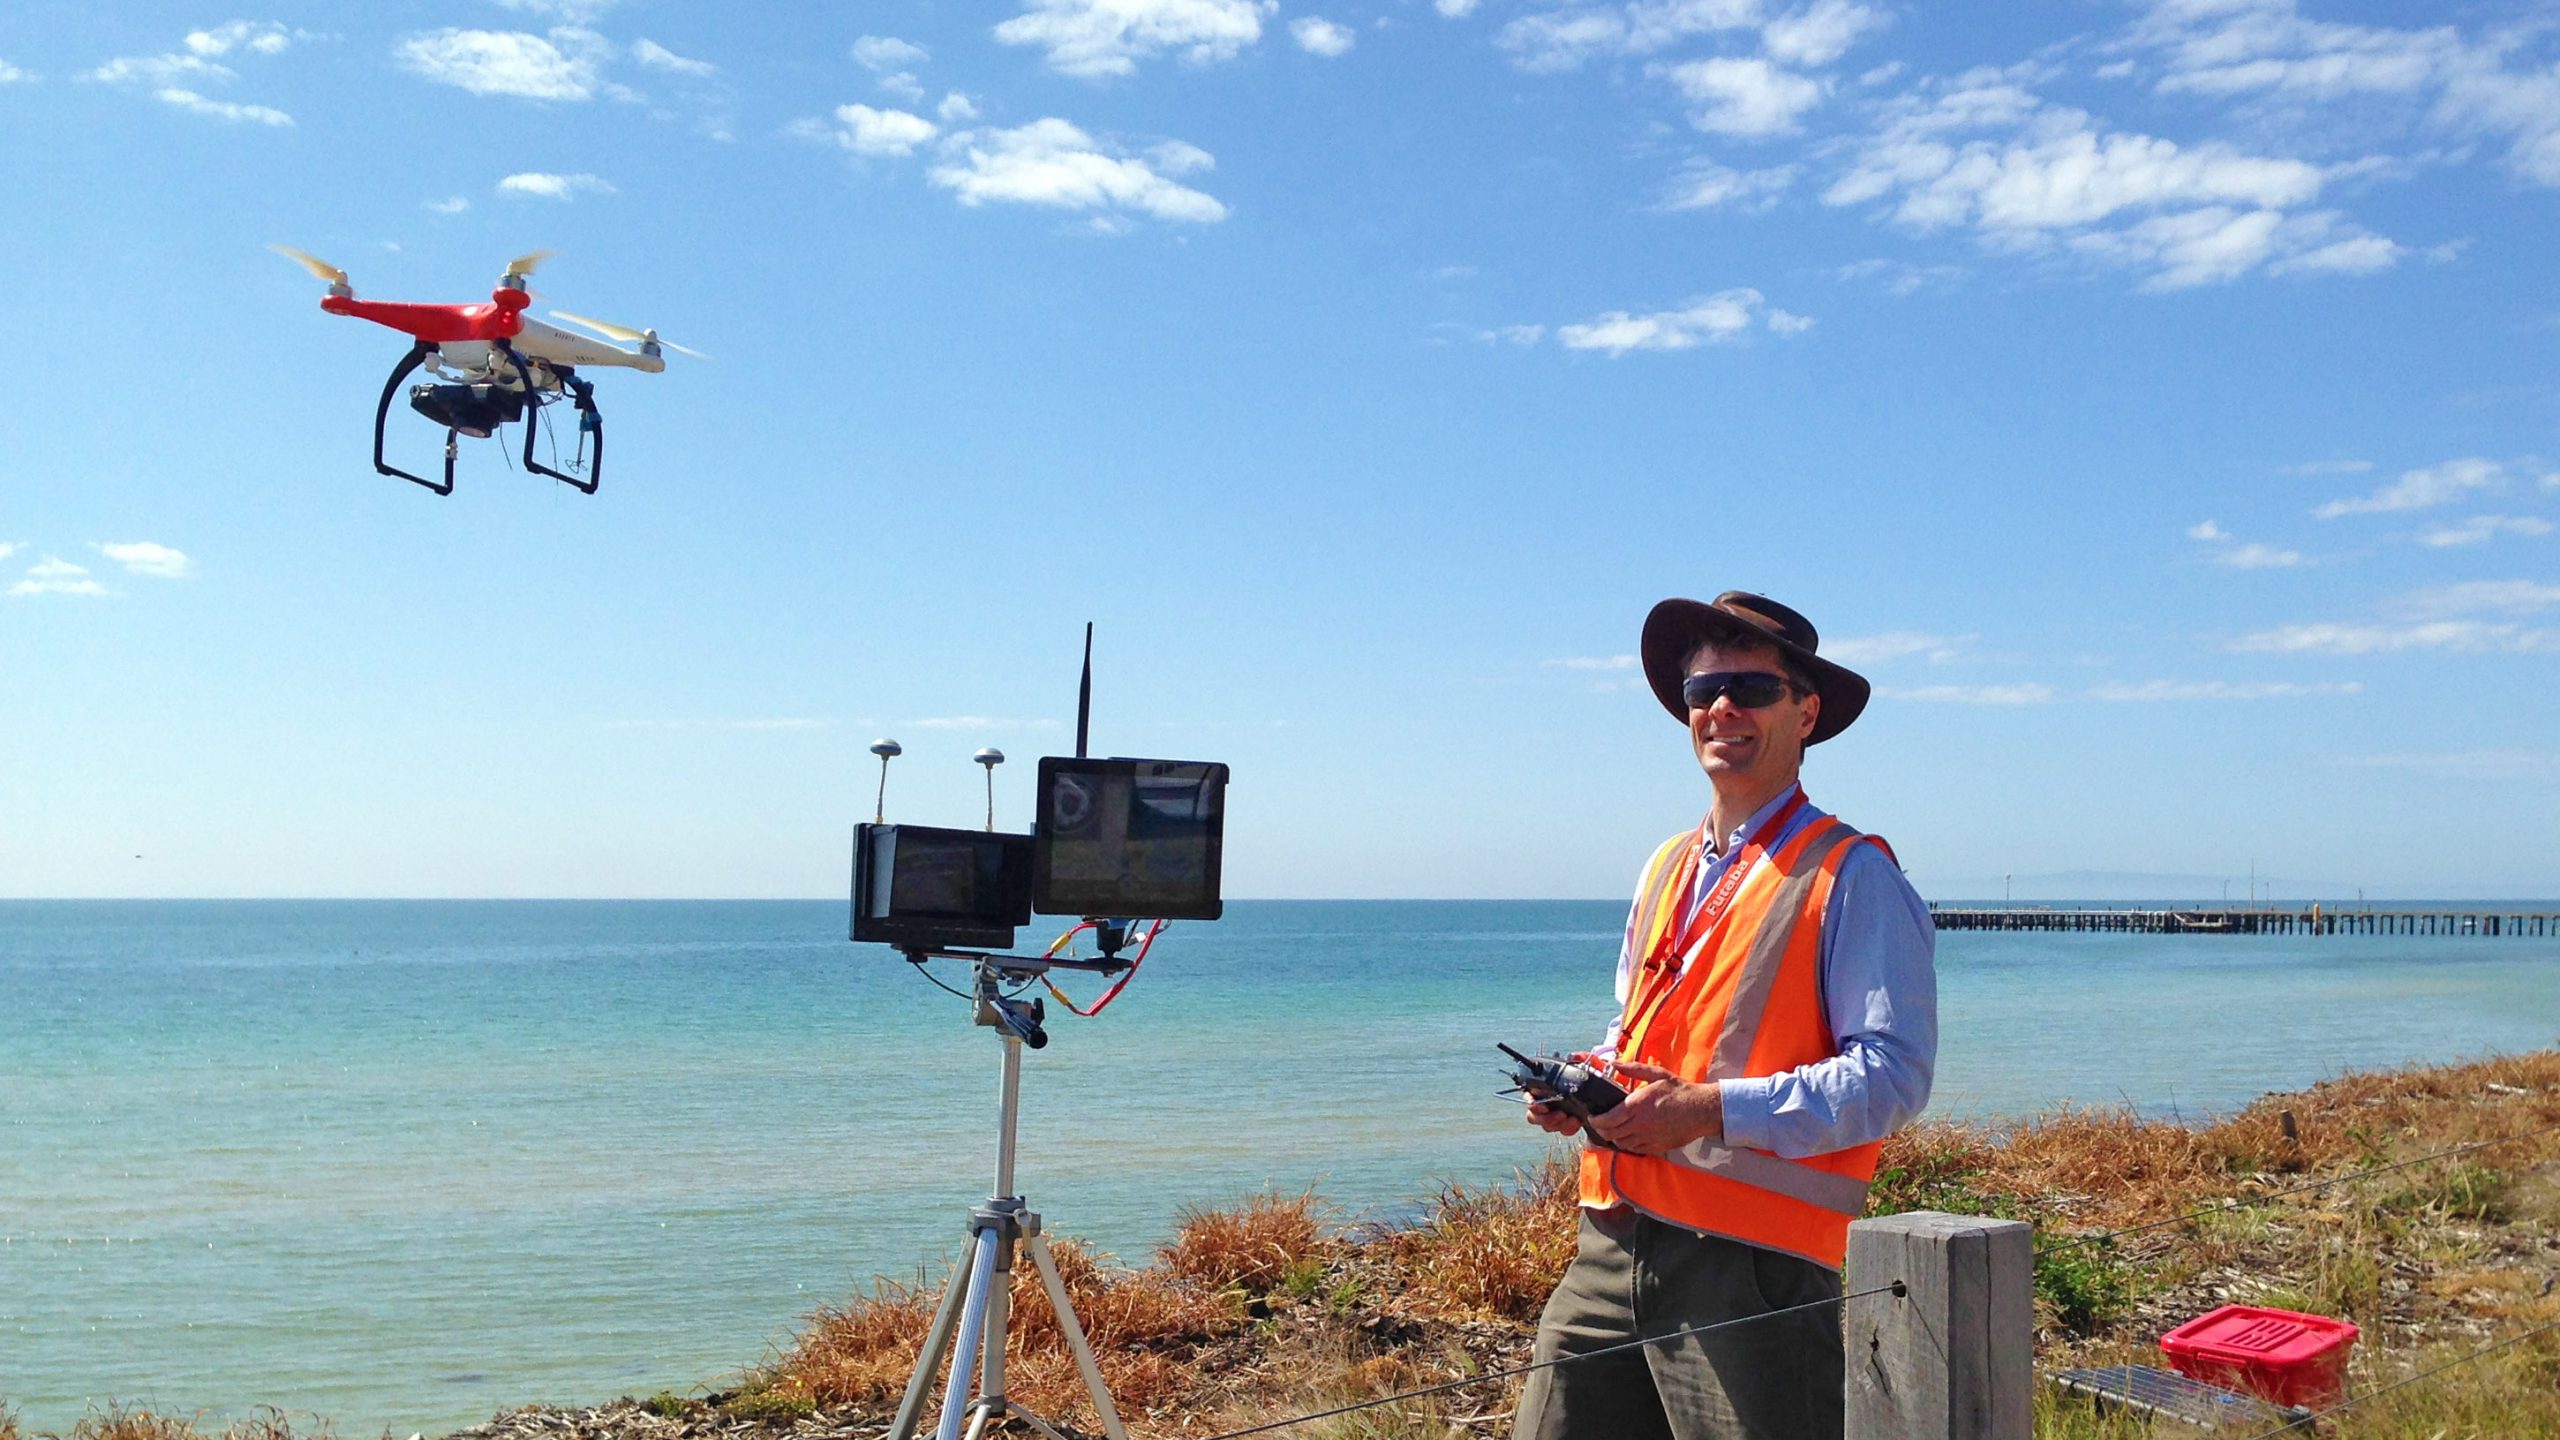
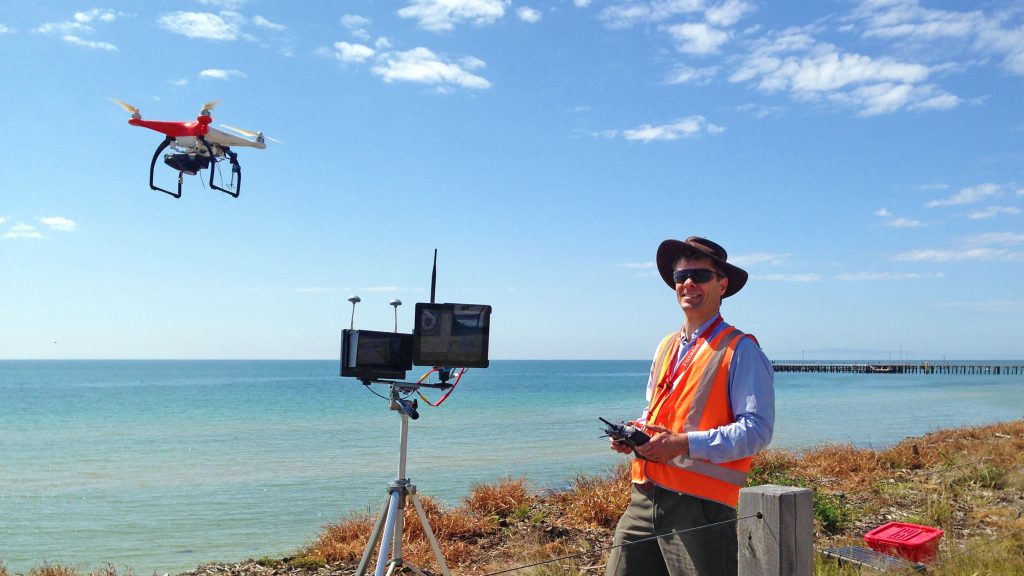
DJI had just released the Phantom 2. Yay! It had GPS, and there was a primitive iPad app for making it fly in a grid pattern. At the time, the only plug-and-play camera option was the GoPro, which did low resolution stills and was not suitable for mapping. So I built a custom mount to carry the superb lightweight Ricoh GR (a classic by the way), and lightened the Phantom 2 everywhere I could, and replaced its remote control with a Futaba system so I had a spare channel to activate the camera. I installed a data link, a video transmitter, a video data overlay and a GPS logger for geotagging the photos. Sorry for the tech overload – but it shows how things have changed: A Phantom 4 Pro will do all that, straight out of the box!
But this massively-modified Phantom 2, seen below, was an incredible workhorse for me: low cost, portable, reliable and MUCH quieter than the huge multirotors that people were using at the time to lift a decent camera.
Moving into the real drone age
Then the Phantom 3 came along. Wow! It had the camera and gimbal included. You could take geotagged photos or video, and apps started appearing for mapping. The camera was only 12MP, but fine for some jobs. Then came the Phantom 4 Pro with a 20MP camera with a mechanical shutter which helps with accuracy. Finally, this was an off-the-shelf photogrammetry machine. You probably think of the Phantom 4 Pro as a tool for photography and video, but it’s brilliant for 3D mapping!
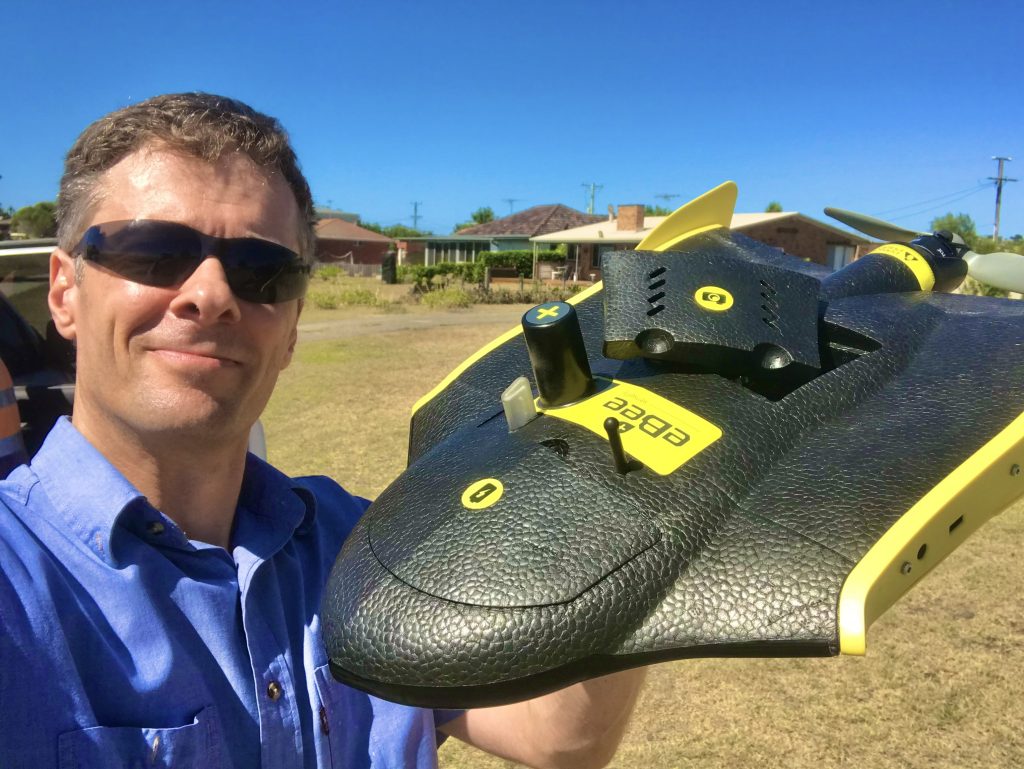
Meanwhile, the Swinglet CAM was replaced by the eBee, then the eBee RTK, and I have used these for many jobs. Below is a picture of the eBee RTK with wings removed and camera cover off.
Comparing 3D Mapping
How does Drone 3D Mapping compare to aerial photography and video? There are certainly some professional operators who continue to have great success with filming and photography work, but that market is saturated. I’ve heard Real Estate agents say “Our photography guy will throw in some drone shots for $50”. In my personal experience, 3D Mapping has been far more lucrative. Way less people do it, because it takes some work to figure it out.
The cool thing is, a mapping client will often say “Can you also do a video? How much for that?” And it works the other way too. I’ve had aerial photography and video jobs, where they’ve said: “What’s this mapping thing that you do?” And that’s led to mapping work. It’s a win-win!
Summing up
I’d like to leave you with a few takeaways:
- Photogrammetry takes advantage of massive processing power to do something amazing.
- Drone 3D Mapping is a great alternative, or adjunct, to aerial photography and video.
- Drones and software have improved dramatically, making it so much easier.
I hope you enjoyed this. If you have any suggestions for other topics, send me a message in the contact form!
Cheers,
Richard

